
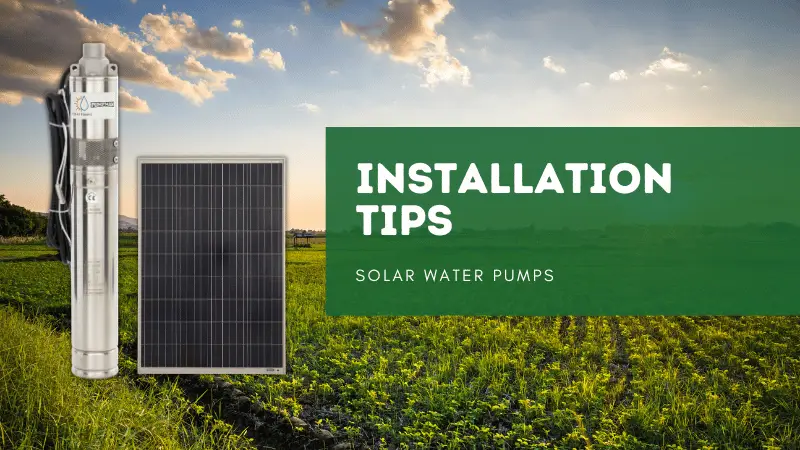
Installing a solar water pump? Tip number one is to do a solar water pump sizing. Most innovative suppliers now have online sizing software where you can input all your borehole specs like depth, water level, distance you want to pump, how high you want to lift the water, pipe thickness, etc. It calculates friction loss and suggests a suitable solar water pump. It’s crucial because a too small pump won’t meet your water needs, and a too large one is a waste of money. It is crucial to size the correct solar water pump.
Tip 2
Tip number two is about wiring correctly. The wires from your pump connect to the control box and are colour-coded. For example, in one of our ranges, it’s blue, brown, and black, and the colours are matched inside the controller. If you connect your pump straight to the controller, it’s straightforward. However, the submersible cable colours might differ, so it’s important to remember which colours you matched when connecting the cable to the controller. A wrong sequence can cause the pump to run backwards, potentially loosening the helical rotor. It’s suggested to take a photo of your connections so you can refer to it when wiring into the controller.
Tip 3
For tip number three on solar water pump installation, focus on the correct orientation of panels. In the Southern Hemisphere, like in South Africa, aim the panels to face True North. Match the panel’s angle to your location’s latitude, which is easily searchable online. A 10-degree deviation is generally acceptable. In winter, angle the panels more to capture the lower-lying sun, while in summer, a flatter angle suffices due to the higher sun position. Though adjustable mounts offer flexibility, they can be costly. Finding a balance that suits all seasons, especially for essential water needs, is key.
Tip 4
Tip number four is about the solar panel connection. Follow the configurations suggested by suppliers or installers. They have tried and tested combinations. Use good grade, Tier 1 panels if possible. Panels can be installed in series or parallel for different reasons, but it’s essential to stay within the controller’s parameters. For example, if your controller has a limit of 100 volts and requires two panels in series, you can’t use two panels with an open circuit voltage of more than 50 volts each, as it will exceed the limit and could damage the controller.
Tip 5
Tip number five is about dealing with DC solar pumps. DC power can experience voltage drop if cables are thin and long. This is due to resistance build-up in the cable. It’s essential to tell your supplier the distance between your panels and controller and use the correct thickness of solar cable. For example, a 6mm solar cable is usually recommended. If the cables are too thin or long, the voltage might drop, and the pump won’t receive enough power, affecting its performance. Another place where this is seen is with the submersible cable on deeper boreholes. For smaller DC pumps, you might need 4 mm 3-core cable instead of a 2.5 mm. Using a thinner cable like 2.5 mm could result in not getting enough water, leading to the assumption that the pump isn’t working correctly when it’s actually just a voltage drop issue.
Tip 6
Tip number six is about the cable joint. To connect your pump to the submersible cable, you use a splicing kit. The three wires are connected using ferrules and a crimp tool, then go into the splice kit, where you pour in resin. This resin sets hard and is waterproof. This is a critical step, as many issues arise if water gets into the cable joint. The resin takes time to set, and people often get impatient and don’t wait the recommended time (90 minutes). If the pump is put into the borehole before the resin sets, it can pull on the cable, allowing water to enter. This can lead to a lot of work with the pump not working as it should.
Tip 7
For tip number seven, include dry run protection in your solar water pump setup. With the pump, you receive a sensor that you should install approximately 30 cm above the pump in the borehole. This sensor serves as your safeguard against dry running. If the water level falls below this sensor, the pump motor will automatically shut off. This prevents the pump from running dry, which can lead to overheating and potential damage not covered by the warranty. Note that some newer pump models come with built-in dry run protection. Make sure to check with your sales representative about the type of sensor your chosen pump model uses.
Tip 8
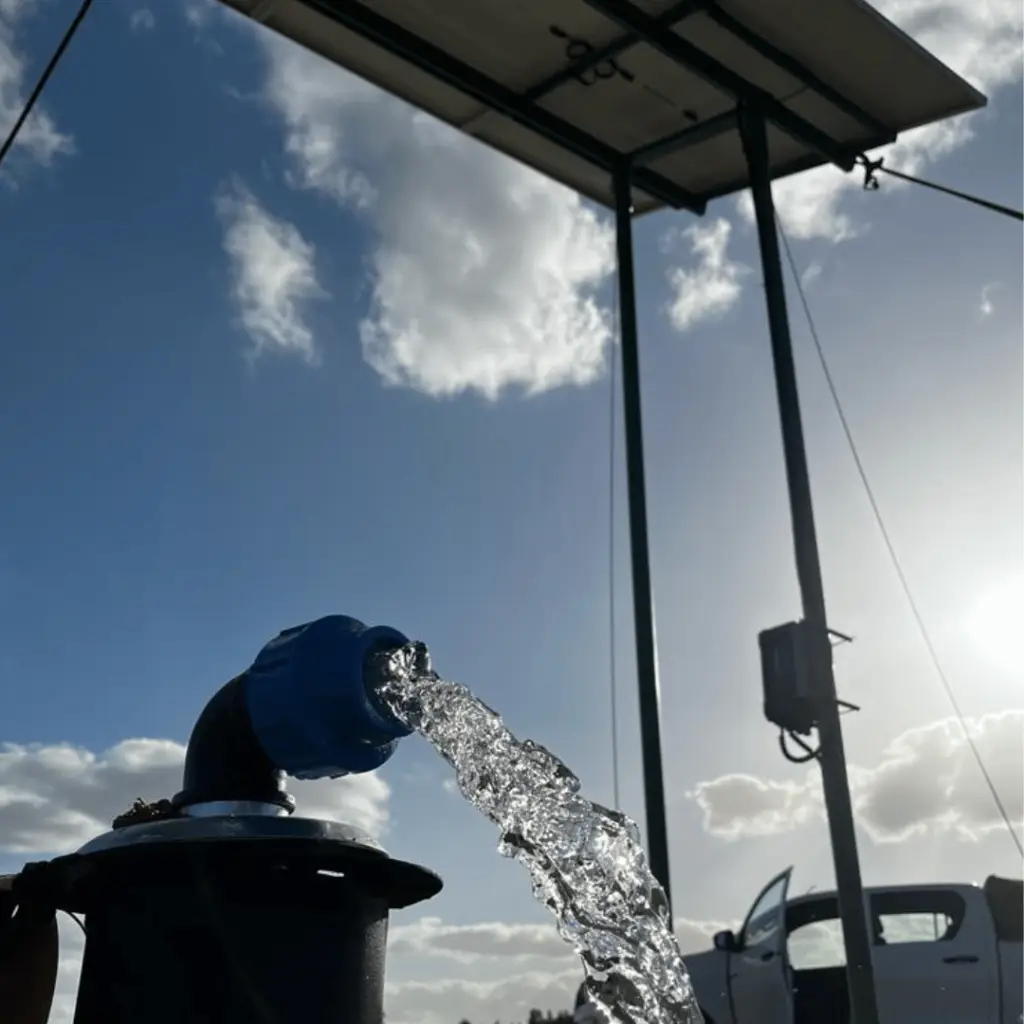
And now, the grand finale – tip number eight, perhaps the most crucial of them all: Test your pump in a water-filled drum before its big dive! This last step is a game-changer. It’s where you catch those sneaky, little glitches and connection errors, ensuring everything’s shipshape before the pump’s final journey down the borehole. Imagine the hassle saved – and the colourful language avoided – by catching issues on land instead of underwater. It’s a simple final test to guarantee smooth sailing for your pump installation!
These eight tips should help whether you’re a solar installer or a farmer doing a DIY solar installation. They’re designed to reduce frustration on site, ensuring a smooth and successful solar water pump installation.